Wordpress: плагин для установки кнопок
Last modified:
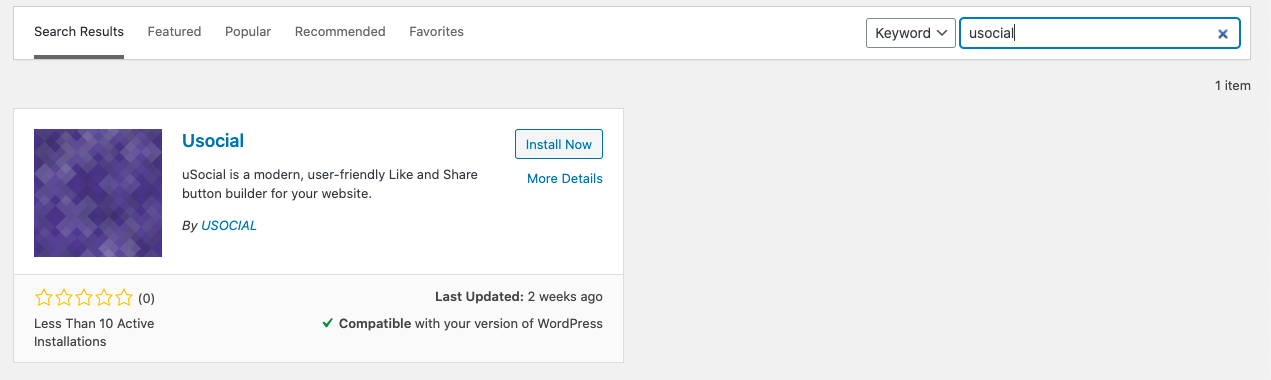
Plugin installation instruction. Go to the admin panel of your WordPress site. Select Plagins – AddNew on the left panel. Enter "usocial" in the search bar. The uSocial plugin card will appear below. Click "Install Now" and then "Activate".
How Do I Use the Plugin?
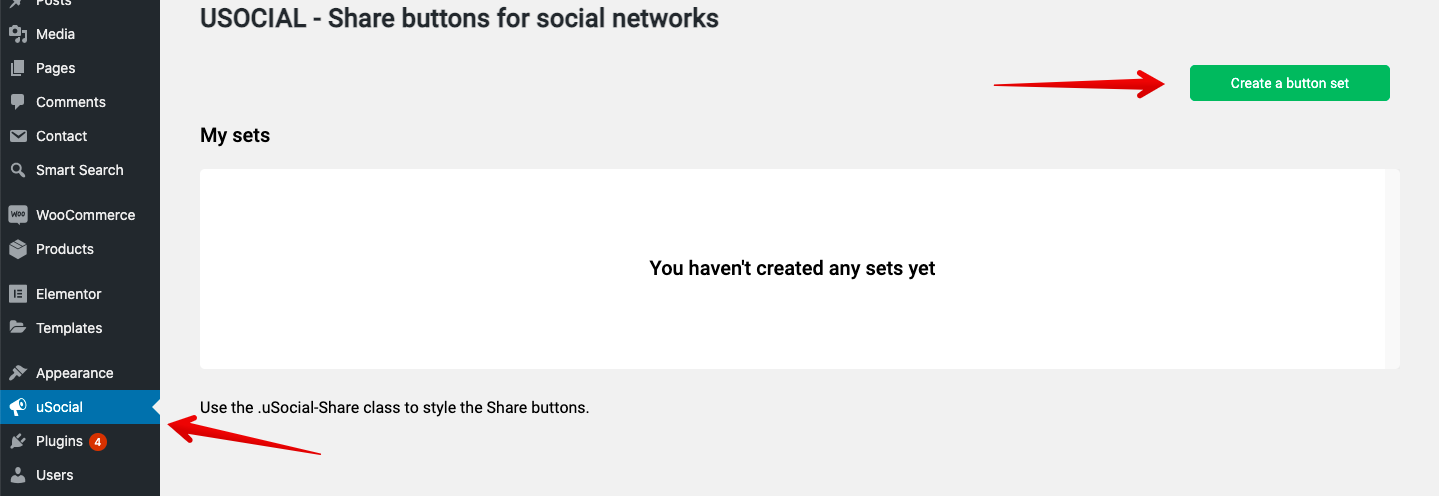
To add the widget to your site, go to the plugin page and click “Create set”.
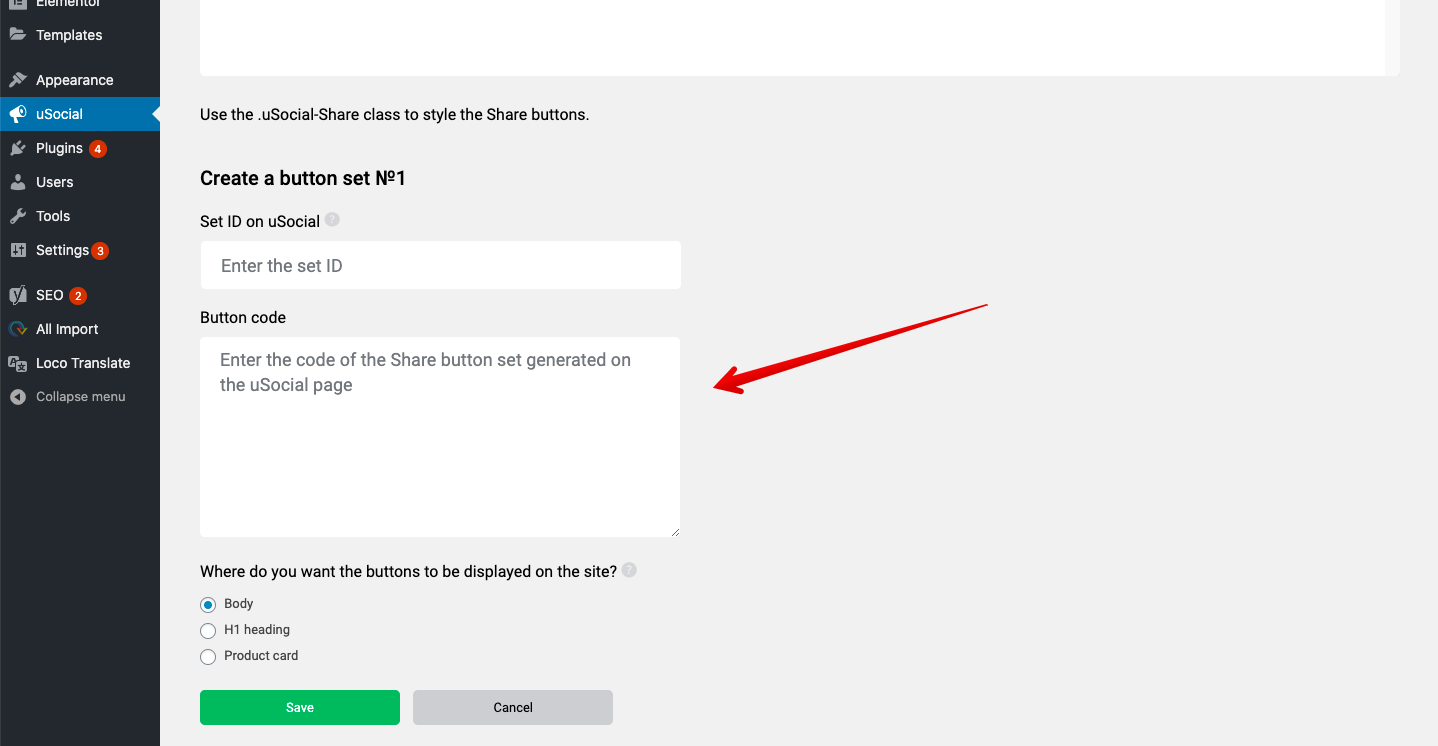
The uSocial builder page will open in a new tab. Create a button set and click “Save”. Copy the generated code and paste it into the “Button code” field in the plugin.
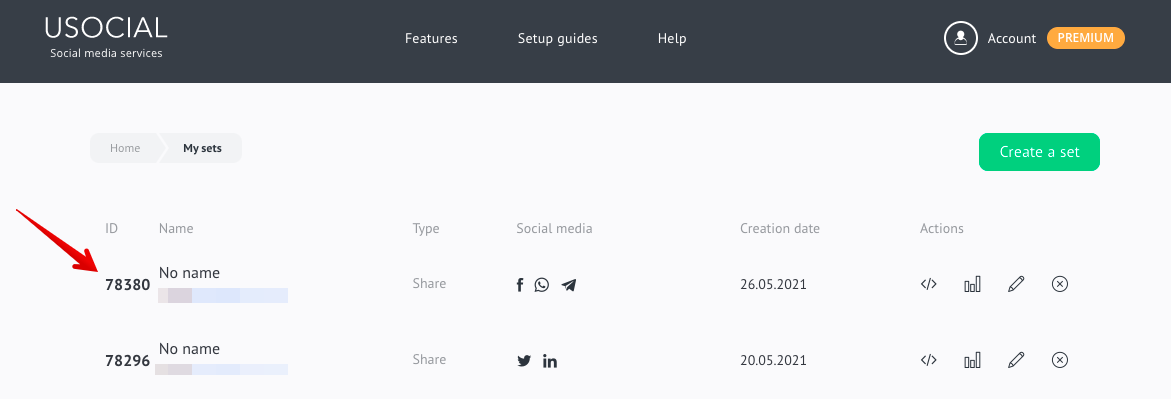
Where Do I Find the uSocial Button Set ID?
After creating the buttons, go to the My Sets page. The set you’ve just created will be displayed at the top of the table. Copy its ID and paste it into the appropriate field in the plugin.
Button Display on WordPress
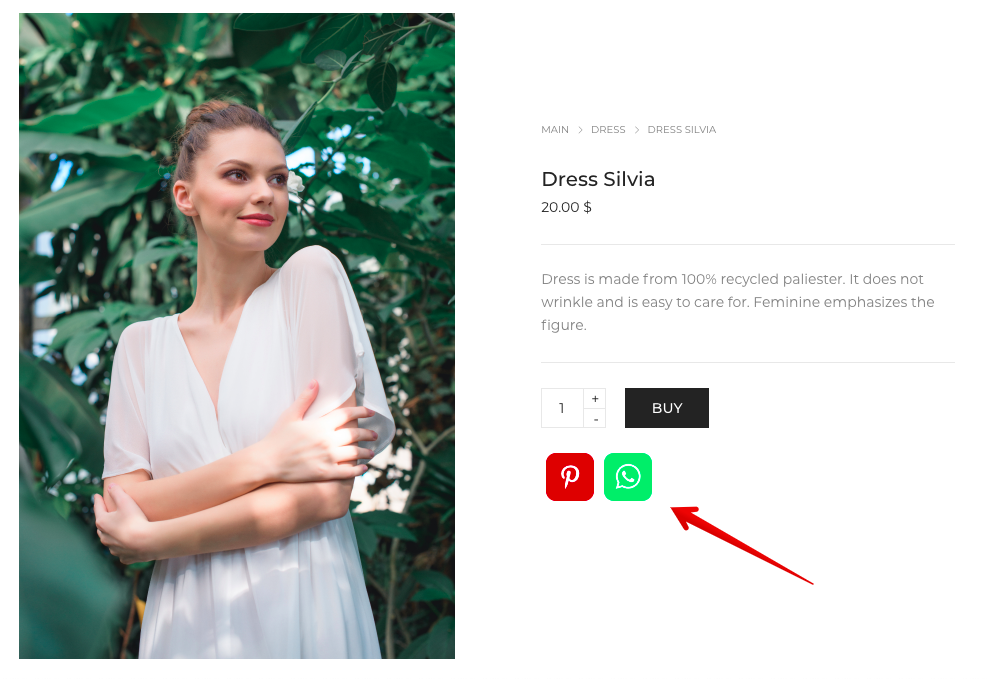
If you selected a static position of buttons when creating a set, you can place them at a specific place on the site using the plugin: before the closing </body> tag, after the h1 heading, and at the end of the product card (see image below).
The way the buttons are displayed on the page depends on the website template. To customize the display with CSS, use the .uSocial-Share. class.
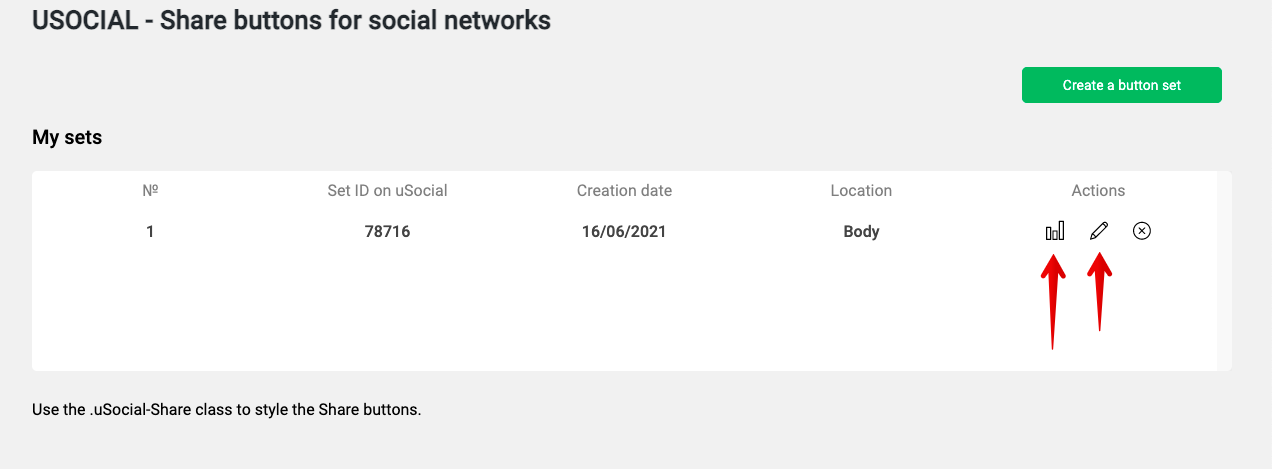
How Do I Edit the Set and View the Stats?
If you want to change the display of the buttons on the pages, edit the set. To do this, click the “pencil” icon in the table opposite the desired set. In the window that will open, edit the set and click “Save”.
To view the button stats, click the “graph” icon opposite the desired set. In the window that will open, you can view the statistics from uSocial.